Back

Toybox: Build App

A 3D modeling (CAD) app for kids ages 10 to 14 that works on phone, tablet and desktop, and prints straight from the Toybox app.

Role
Sole Product Designer
Duration
Mar 2023 – Aug 2024
Team
2 Developers, CPO, CTO
Platforms
Mobile, Tablet, Desktop

Overview

I designed Toybox’s first 3D modeling app from 0→1, across phone, tablet and desktop.

Toybox makes a 3D printer and app for kids ages 10 to 14. As the only designer, I led the design of its first in-app modeling tool, so kids could make a toy from scratch and print it without leaving the app.

Kids knew it as the Build App. Internally we called it CAD, and the data on this page does too.
Impact

53%

of new toys were made in the Build App, more than the other 11 sources combined.

5.5×

the prints of Car, the most-printed template, and 1.5× Drawing, the next creation tool, in September 2024.

1 in 3

people who opened the Build App created a toy within an hour, in a median of 8.4 minutes.

Source: Mixpanel data from month of September 1-30

Problem

Kids had to leave Toybox to make a toy from scratch

Before the Build App, the only way to print an original toy was to model it in another app and import the file. The tool most of our community used, TinkerCAD, runs in a desktop browser, but 3 in 4 Toybox prints came from phones and iPads.

My goal was to let kids model a toy and print it without leaving Toybox, on whatever device they had.

Solution

Introducing a new way to 3D model on Toybox

Kids can now model a toy from a blank canvas and 3D print it from any device, without leaving Toybox.

Usable across all platforms

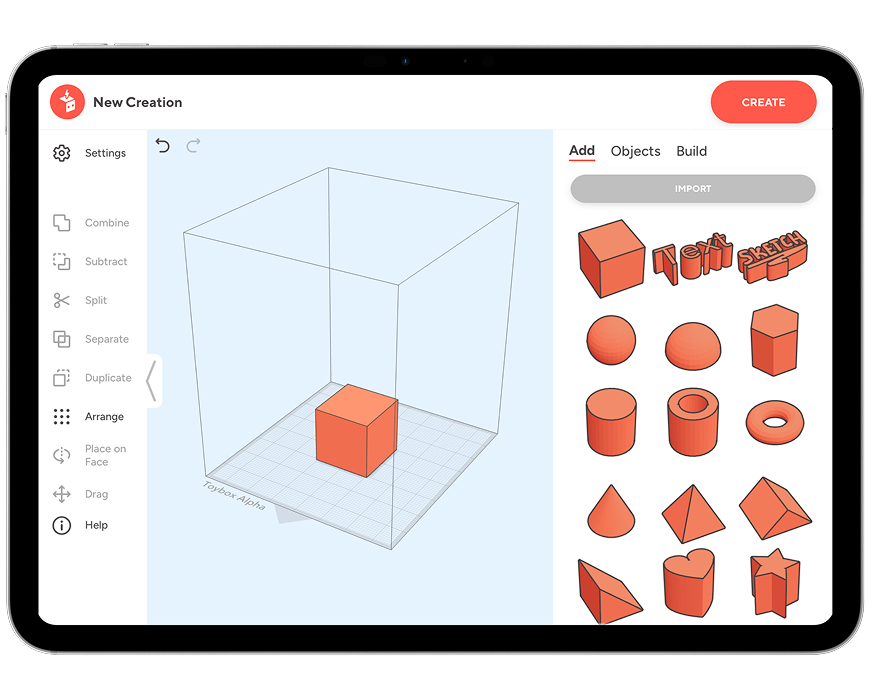
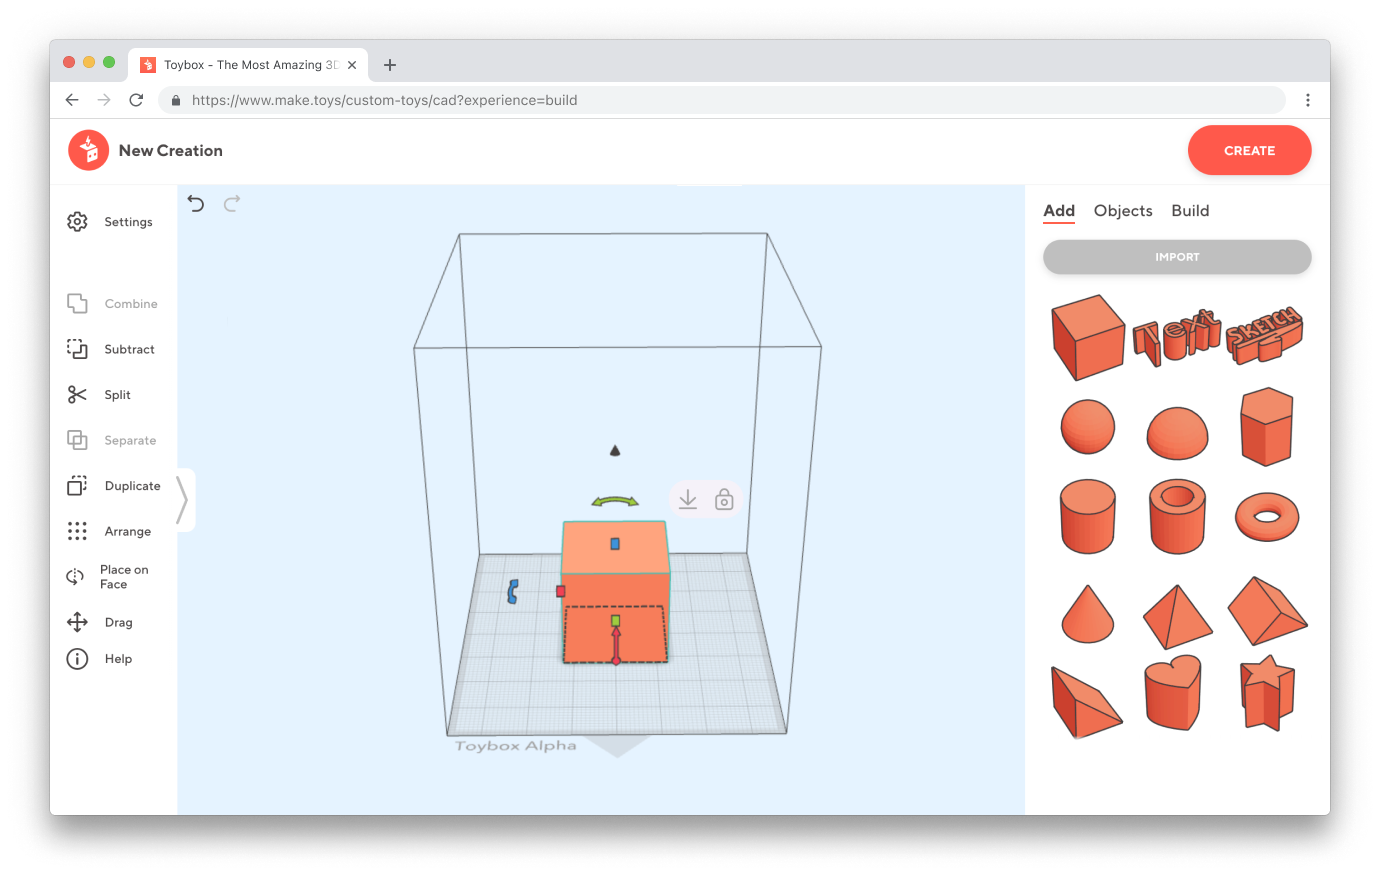
Toybox CAD on desktop

Edit panel

The Edit panel, for precisely changing a model’s dimensions or its position on the canvas, appears in the 3D scene when an object is selected.

Tools

Duplicate and Arrange lay out copies of a part. Subtract and Combine are the boolean tools our toy designer called non-negotiable: they cut one shape out of another or merge two into one.

Constraints

Five constraints that shaped every decision

3 in 4

prints came from phones and iPads, and only about 7% from desktop. With most kids on touchscreens, a desktop-only tool wasn’t an option: every tool had to work on phone, tablet and desktop alike.

Usable for a 10–14 year-old

Every tool had to make sense to a kid who had never opened a 3D modeling app.

0 kids to test with

Child-safety rules meant adult testers, so kid-specific choices were hypotheses until launch data came in.

2 engineers

A 3D editor can’t be tested in Figma, and every testable build cost engineering time.

No research team

I didn’t have a research team or a 3D modeling background, so I learned the domain from our in-house toy designer.

Research

No competitor let you model and print in one place

I compared five 3D modeling apps on how you build a model, who they’re built for, and whether what you make is ready to print. Pro tools build precise solids but expect CAD experience, and visual tools are made for renders and the web. TinkerCAD came closest, but none of them let you model a toy and send it to your own printer in one flow.

TinkerCAD

  • Builds models by combining solid shapes and “holes”, which beginners pick up quickly
  • The tool our community used most, and its models print well
  • Runs in a desktop browser or an iPad app, with no phone version

Shapr3D

  • Professional solid modeling with sketches, constraints and design history
  • Runs on iPad, Mac and Windows, and leans on Apple Pencil and a large screen
  • Great beginner tutorials, but it still expects CAD knowledge

Shapeyard

  • Builds models by combining and bending simple shapes, and exports STL for printing
  • Works on iPhone and iPad, but tools sit several sub-menus deep, which is a lot for a beginner

Vectary

  • Browser-based modeling with booleans
  • Aimed at product visuals, AR and configurators rather than printable parts

Spline

  • Browser-based modeling and sculpting
  • Made for interactive 3D on the web, not printable parts
TinkerCADShapr3DShapeyardVectarySplineToybox
Easy for a first-time modeler
Made for 3D printing
Advanced modeling tools
Works on a phone
Model and print in one app

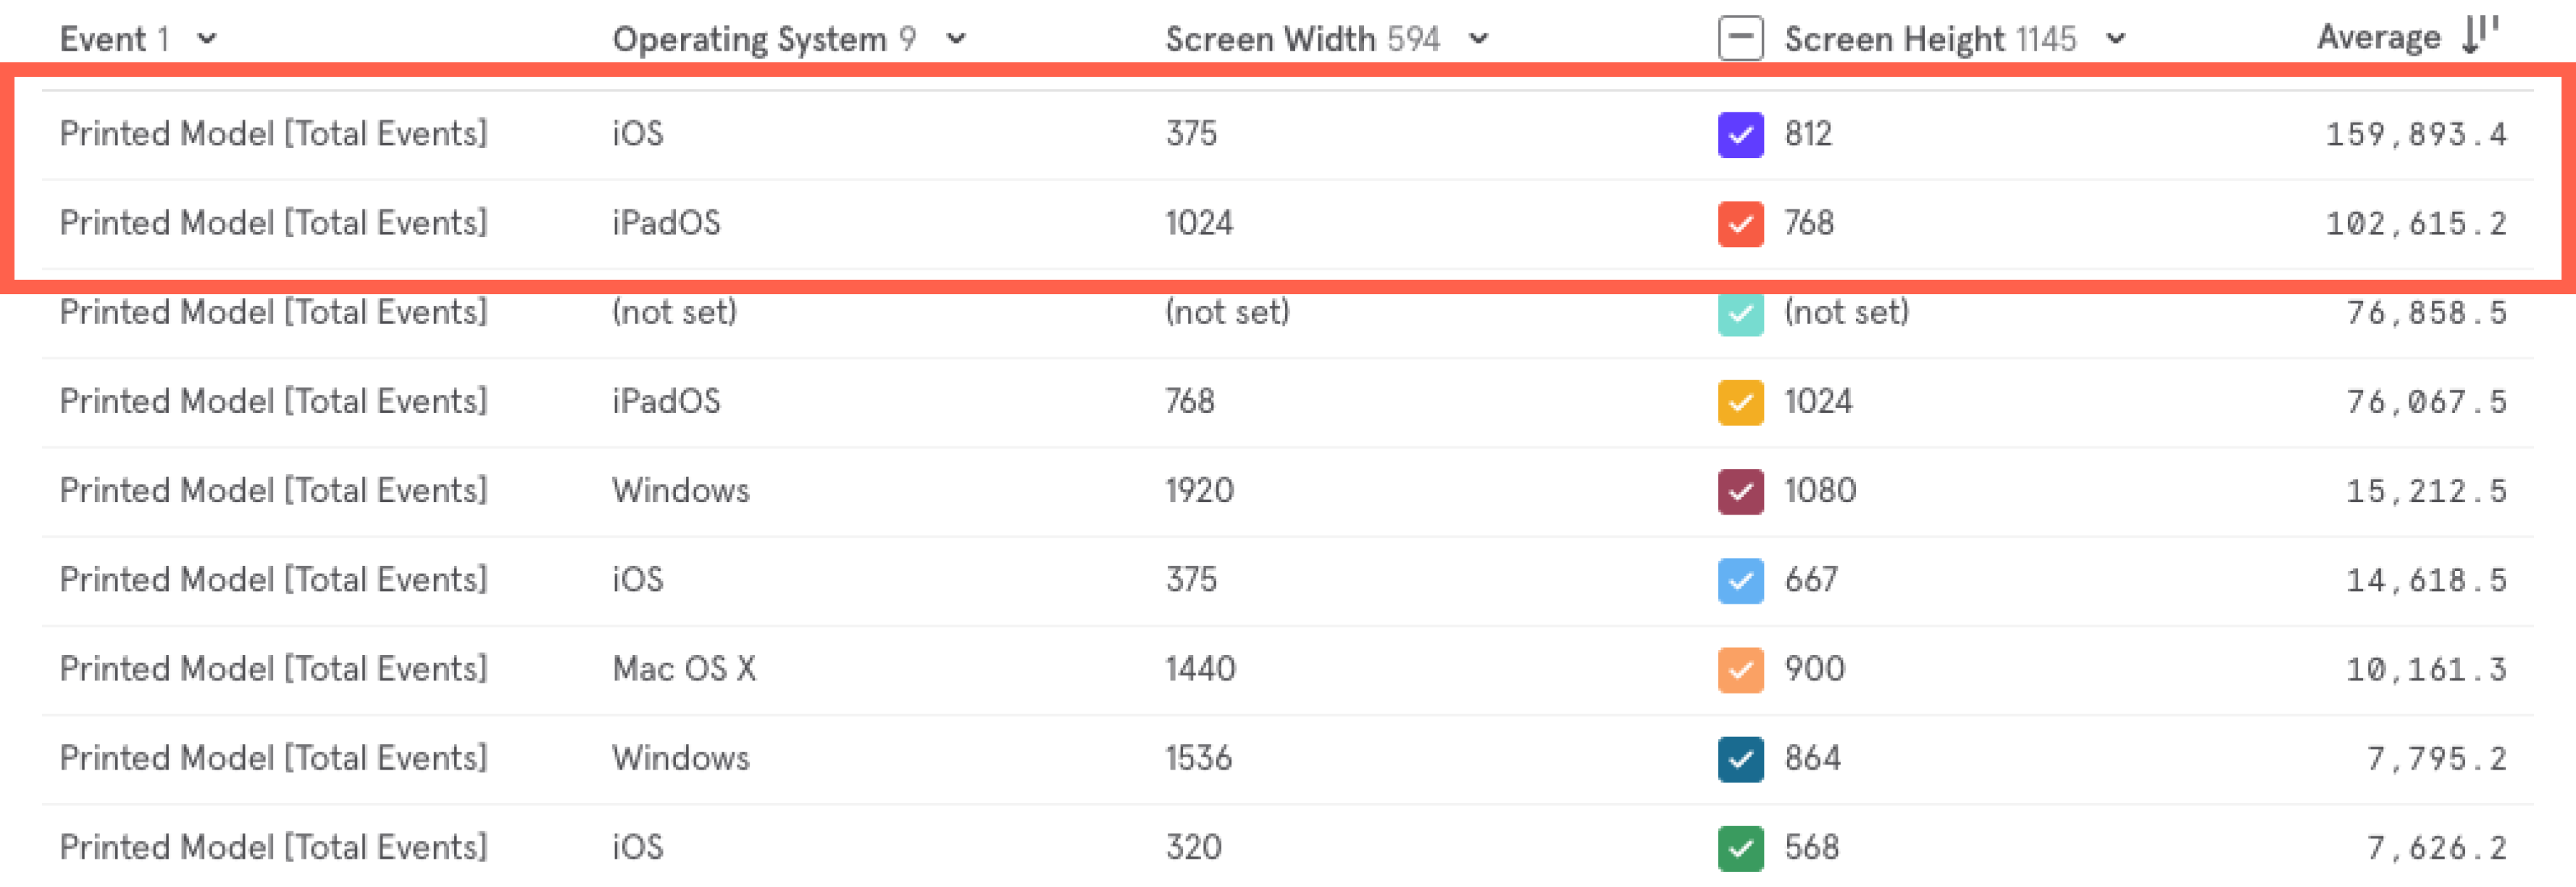
TinkerCAD, our top competitor, was the tool our community used most, but it doesn’t work on a phone. With 3 in 4 prints coming from phones and iPads, our app had to work as well on a touchscreen as on a desktop.

Mixpanel table of printed models by device: iOS and iPadOS lead

Getting a professional’s input

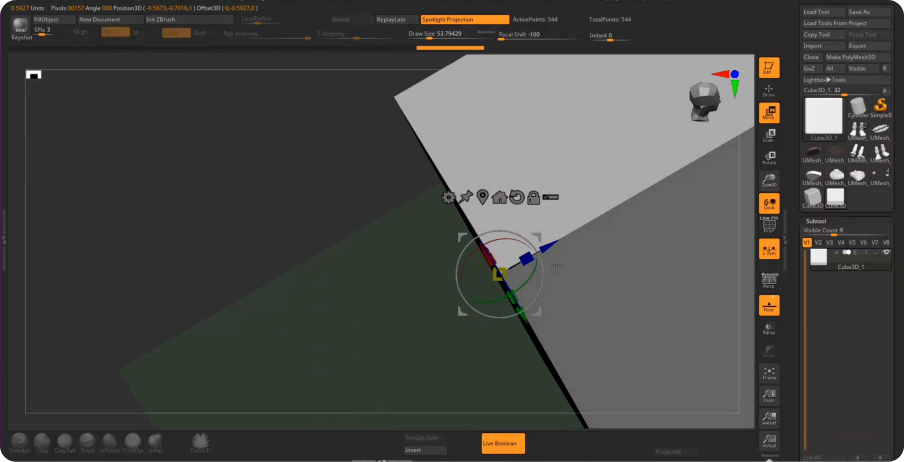
To understand professional 3D modeling, I interviewed our in-house toy designer and watched how he works in Blender and ZBrush. It showed how complex pro workflows are, and which tools are non-negotiable even for beginners, like boolean operations (union, subtract, intersect).

ZBrush, one of the professional tools our toy designer works in

From everything we could build to what we should

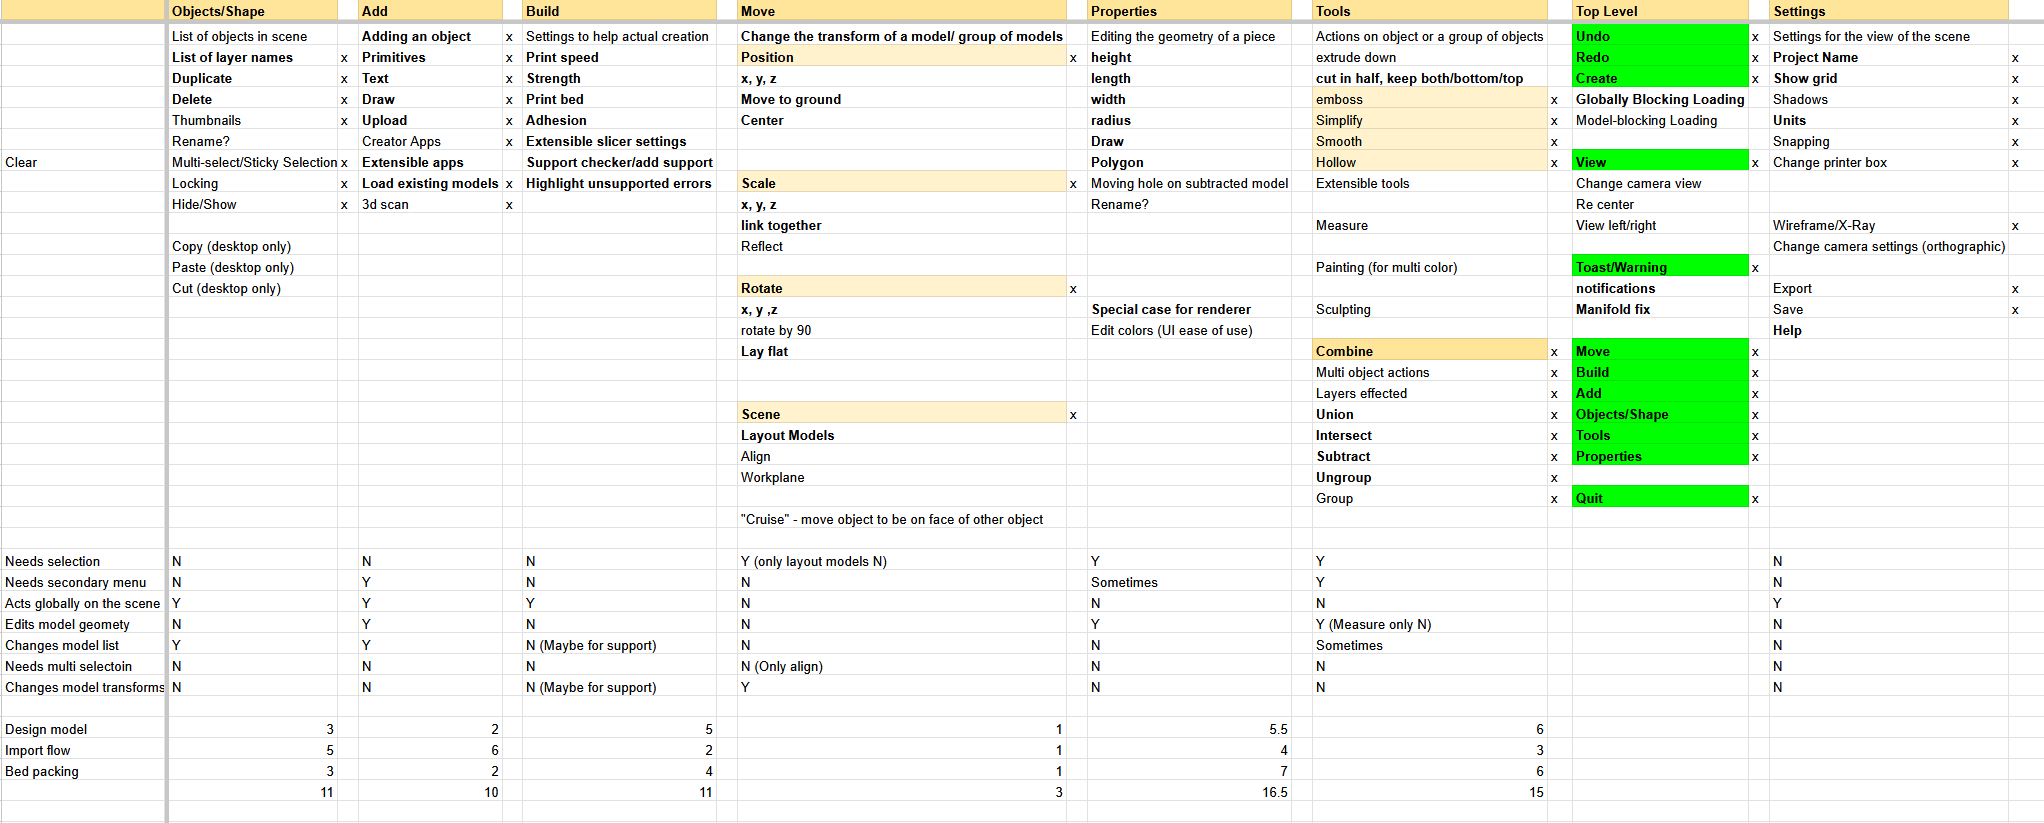
Using the competitor analysis and my interview with our toy designer, I set up and co-led a session where the Product team and I listed every candidate tool across eight areas, then ranked the areas by how essential each was to finishing a first model.

Move ranked first and Properties ranked last. Instead of debating features one by one, we kept the simplest tools that let a beginner finish a first model.

The priorities list: each tool area ranked by the Product team

What made the first release

The ranking left these features for the first release, grouped by what they act on.

General tools and actions

  • Camera controls
  • Undo / Redo
  • Group / Ungroup
  • Arrange objects
  • Layers list

Creation

  • Boolean operations
  • Primitive shapes
  • Modify dimensions
  • Transform controls
  • Copy
  • Split
  • Draw
  • Import

Core system

At first nothing translated one-to-one

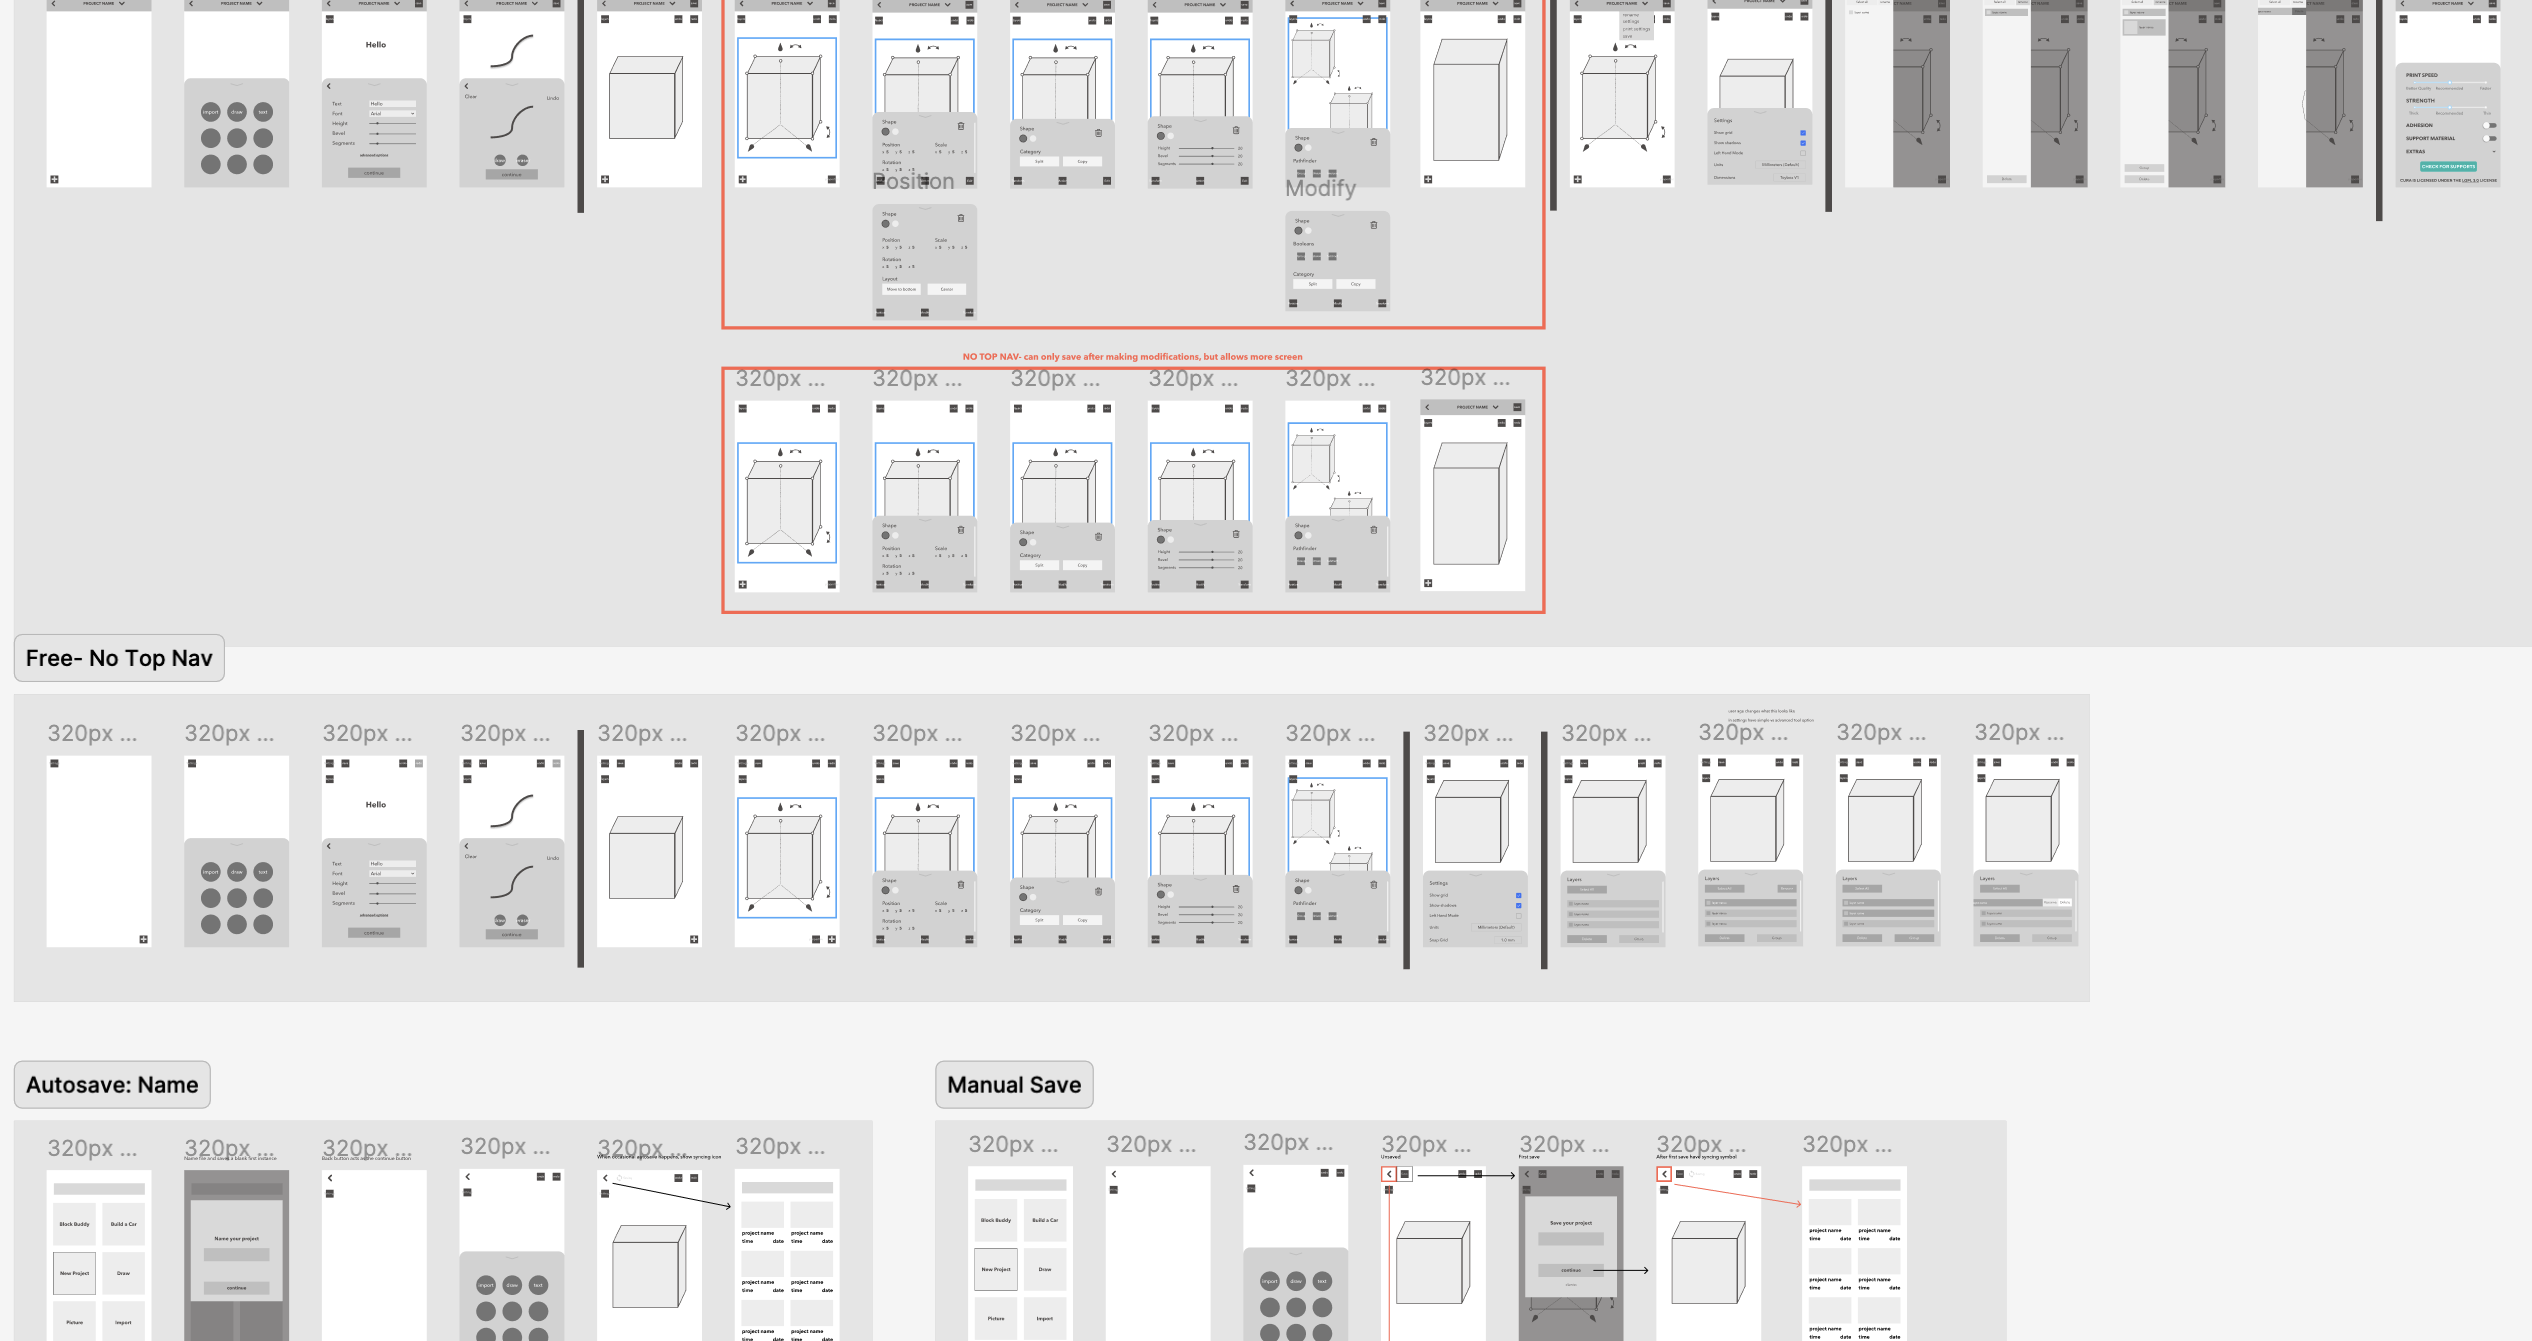
Every phone screen needed a matching tablet and desktop version, and few things carried over directly. I explored layouts for each device side by side, which slowed the project down. Below are a few of those explorations, followed by what fixed the problem.

Low-fidelity designs

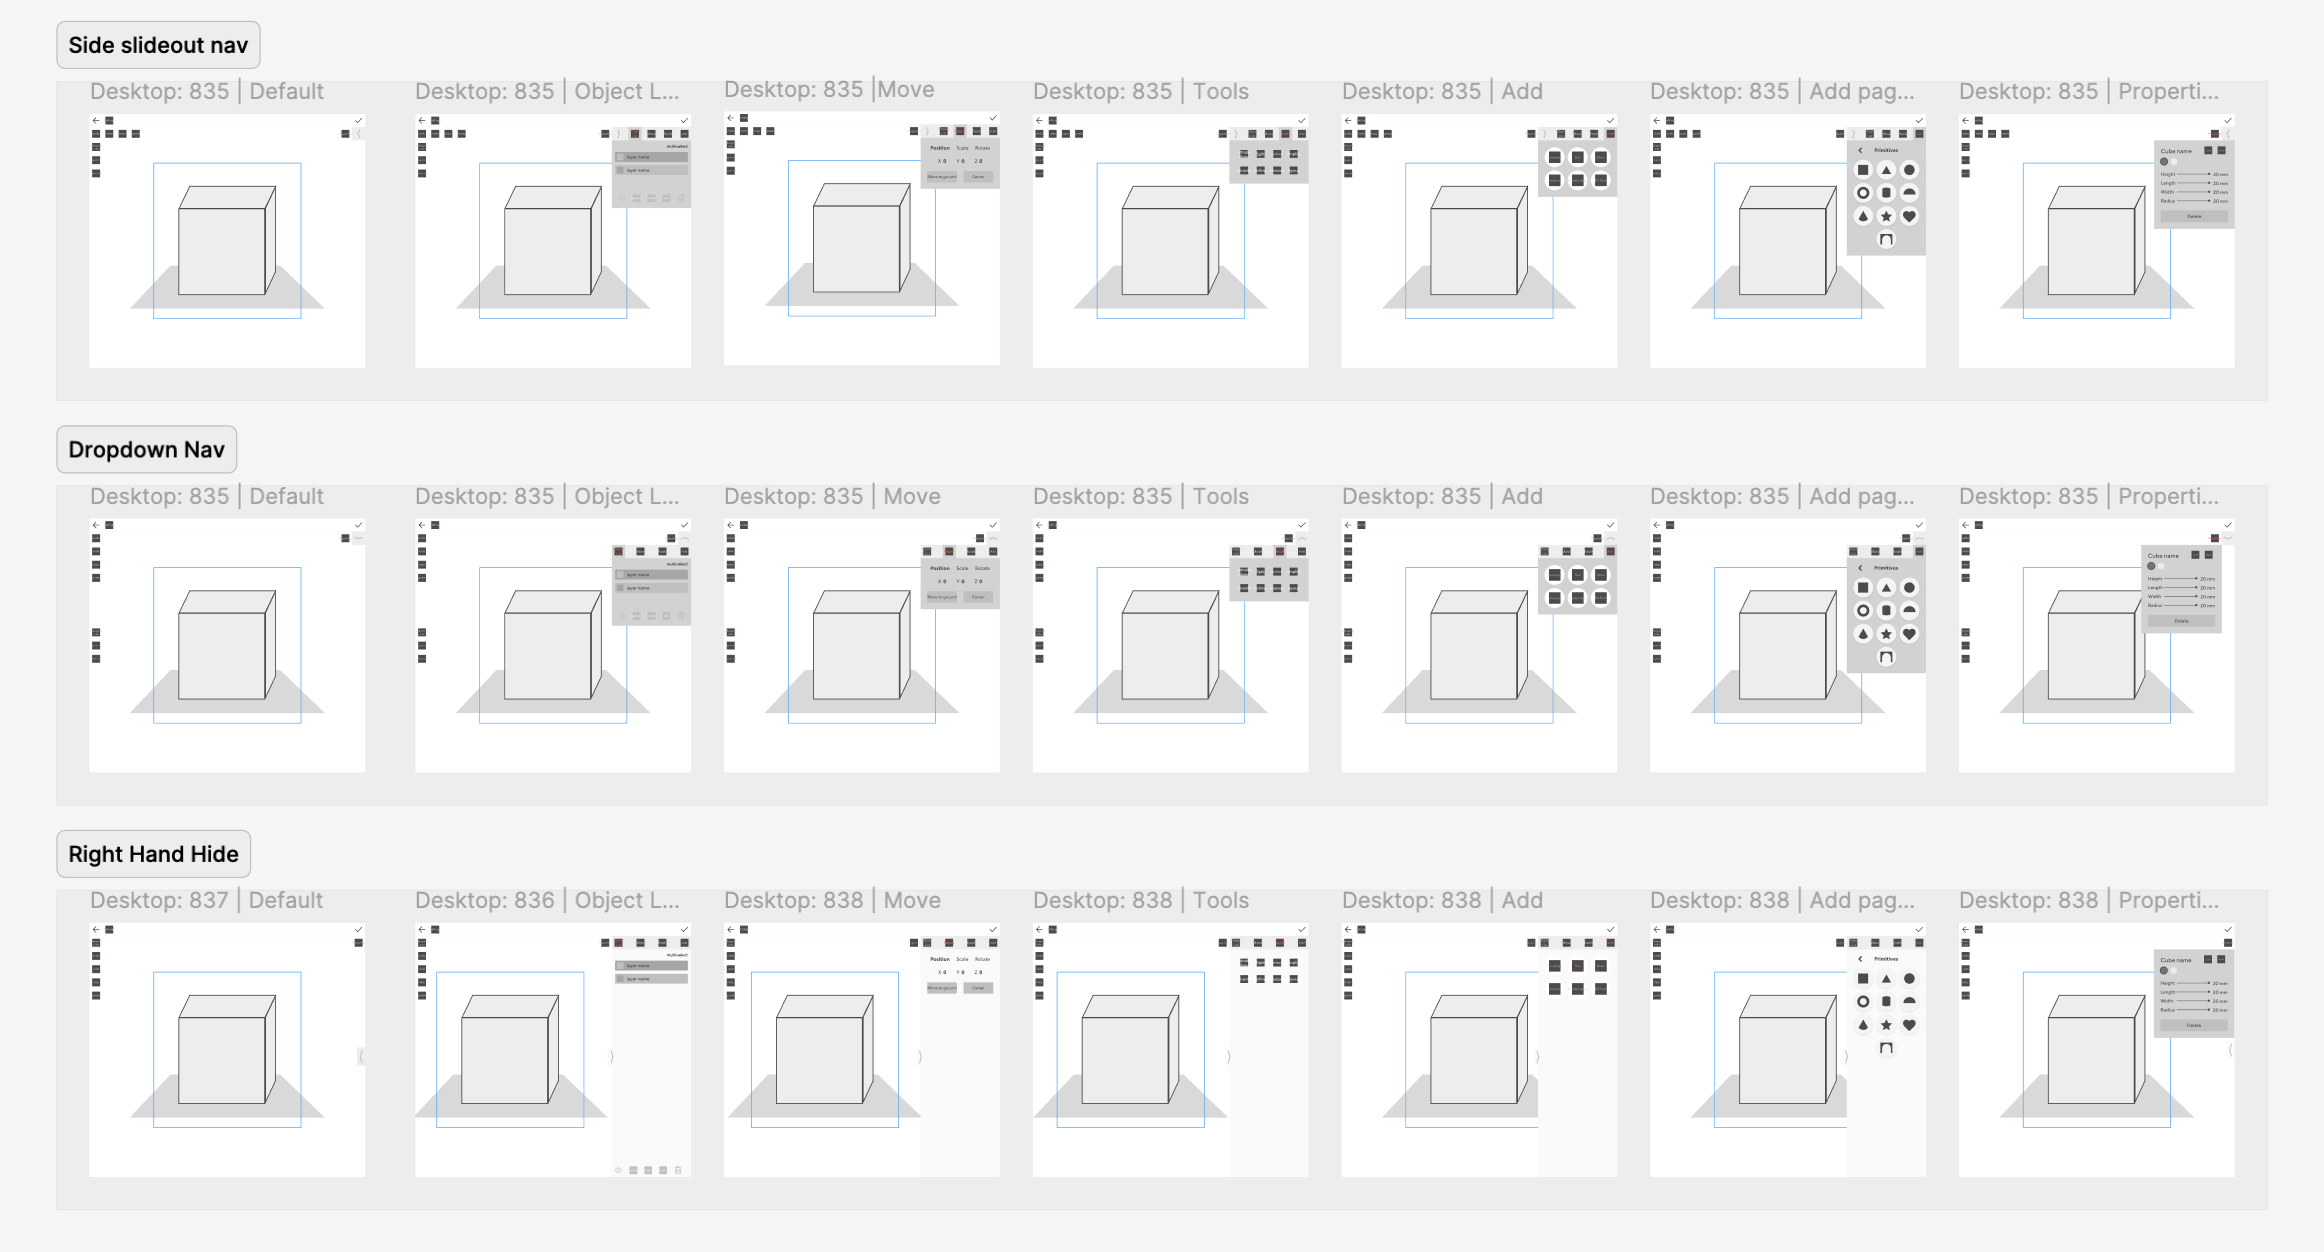
Desktop wireframes exploring a side slideout nav, a dropdown nav and a hideable right panel

One set of rules, three screens

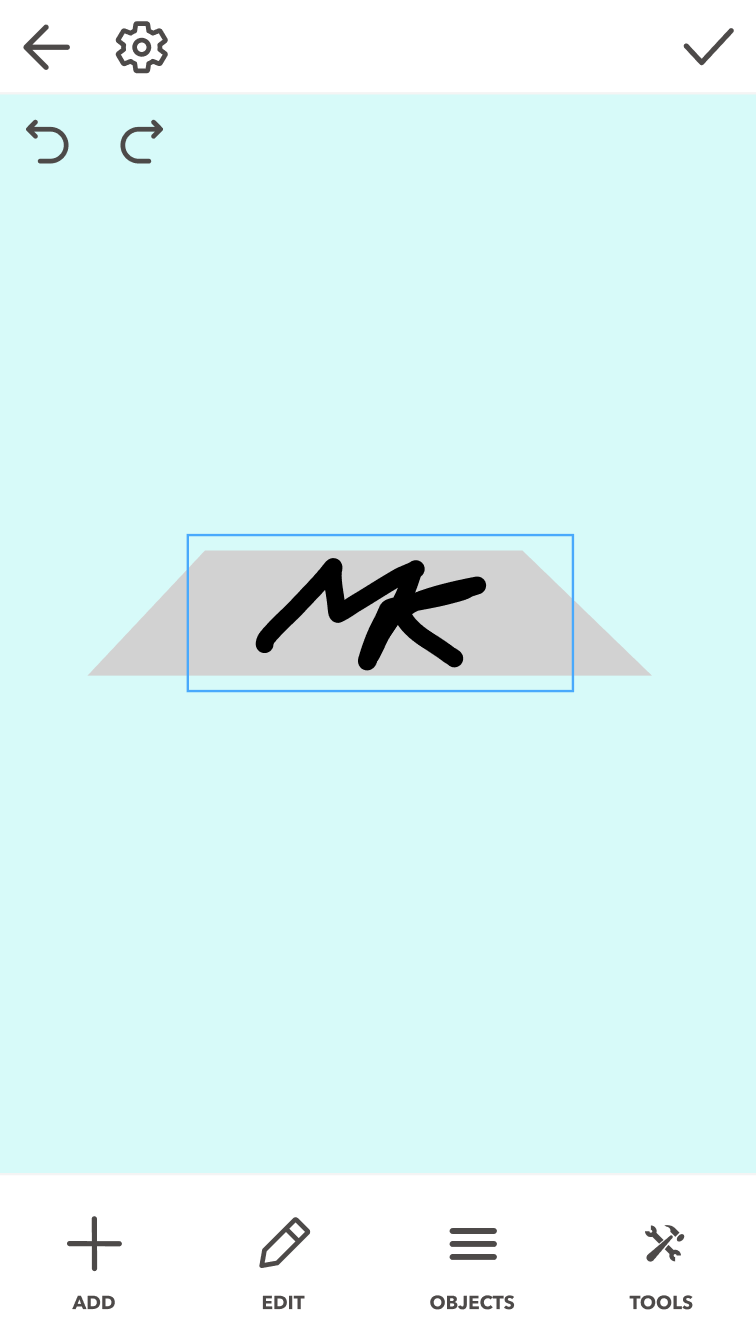
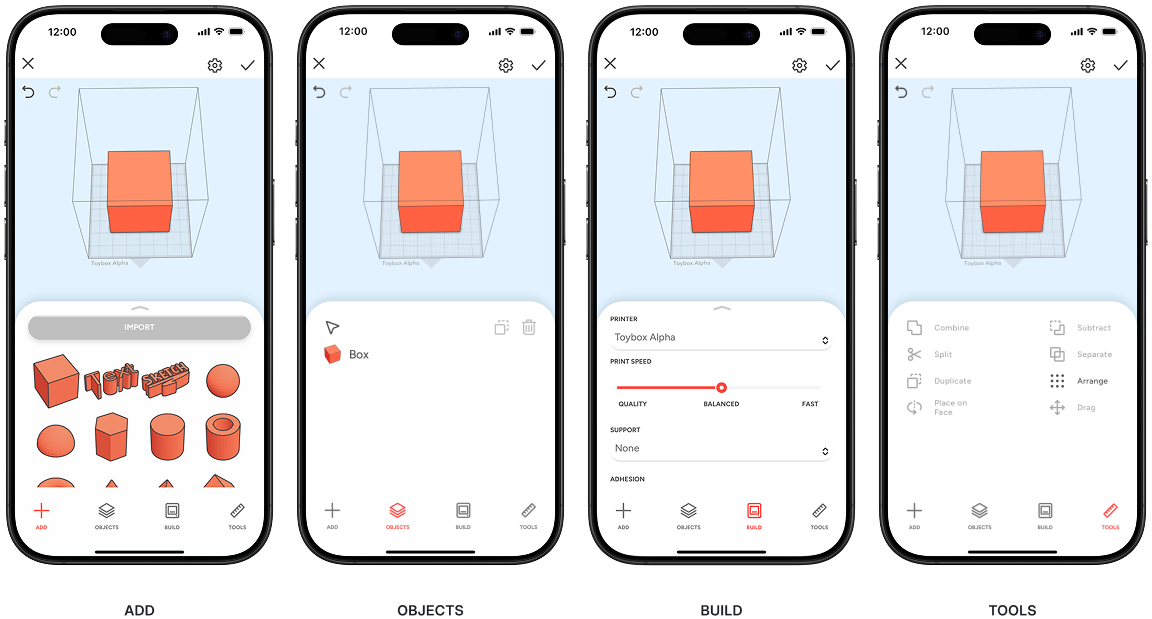
On a phone, the groups became a bottom tab bar, a pattern kids already use every day. On tablet and desktop the same groups moved to side panels, because large screens have room at the edges and the 3D view needs the center.

Beta testing

Two rounds of beta testing

I couldn’t test with 10 to 14-year-olds directly, so 15 to 20 adults with no 3D experience tried two beta builds: coworkers, their families, and parents from the Toybox Facebook community.

Toybox printers are used by whole families, so they were real users, though they couldn’t stand in for a kid’s patience.

The betas showed problems no mockup could, especially with 3D controls I couldn’t prototype in Figma.

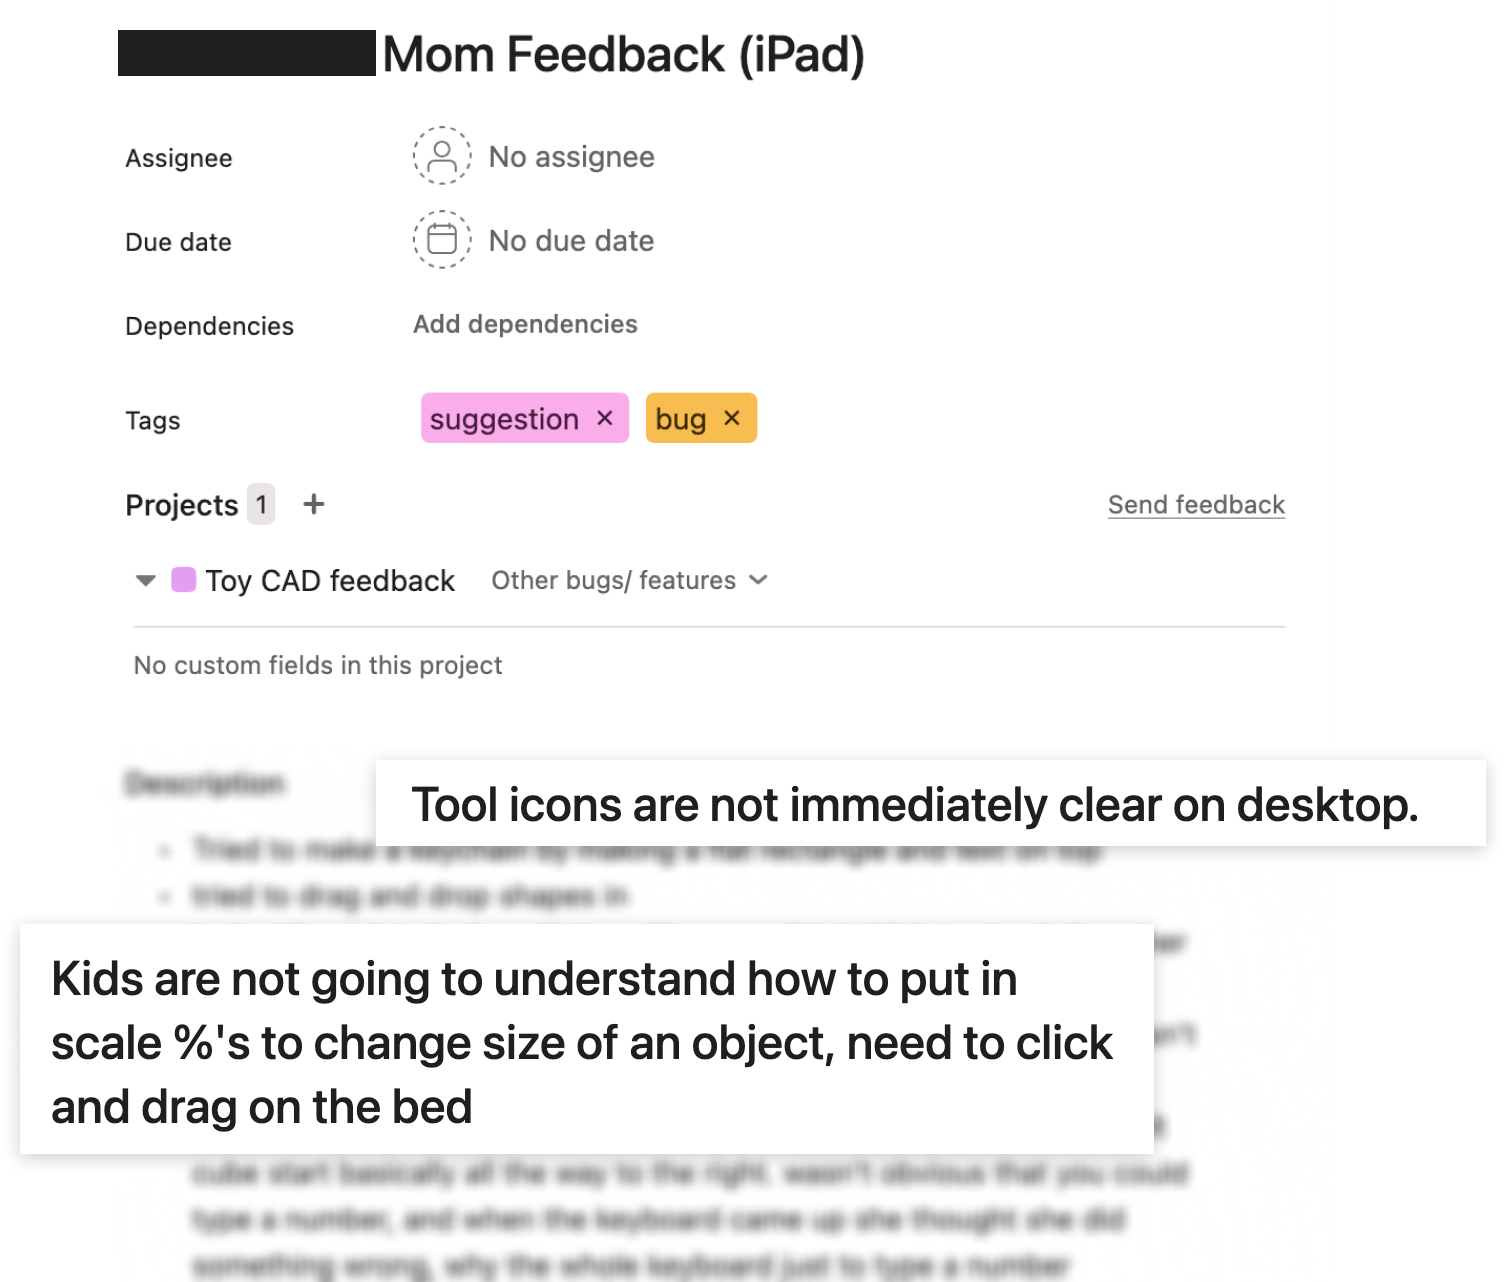
A feedback ticket from a parent who tested on iPad and desktop: the tool icons are not immediately clear on desktop, and kids won’t understand typing scale percentages

Contextual Edit button

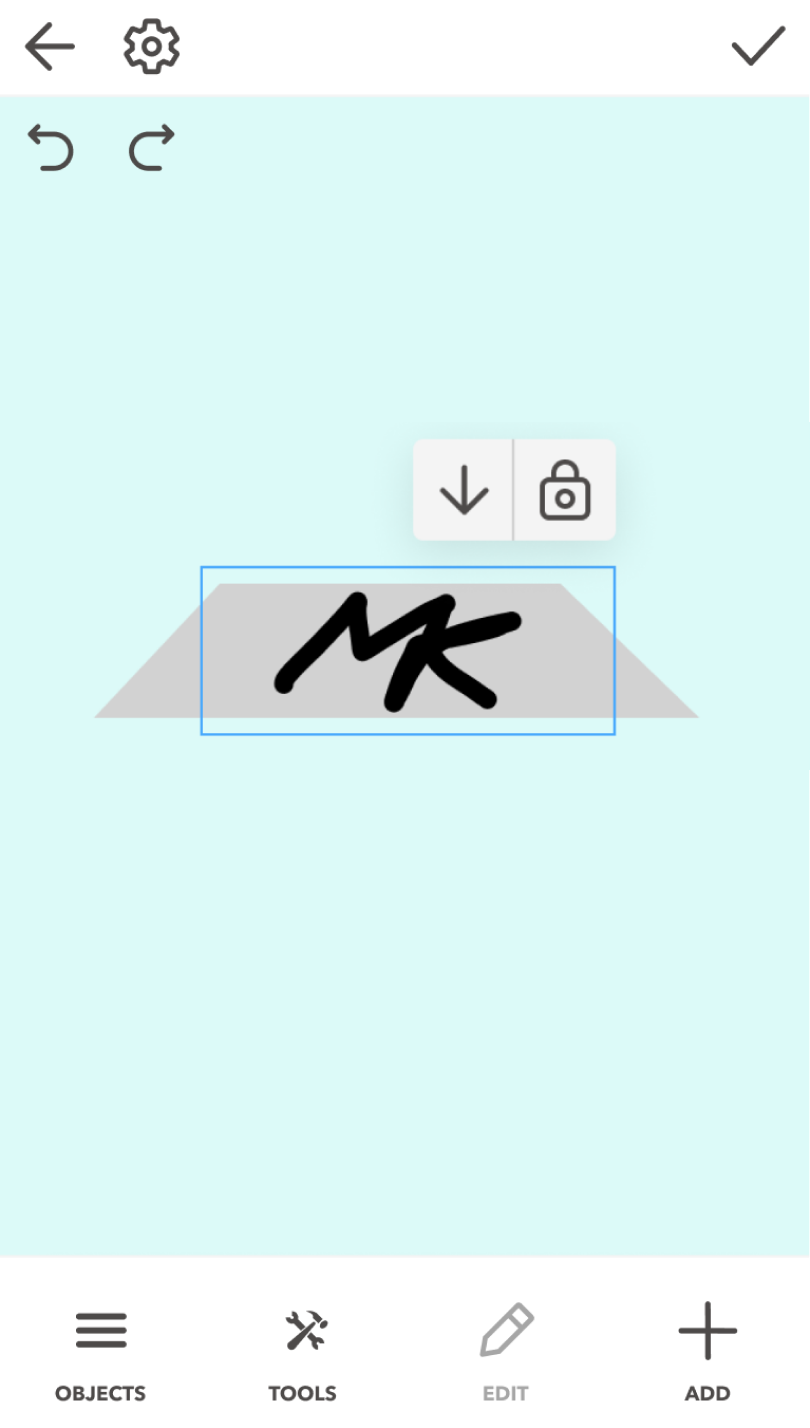
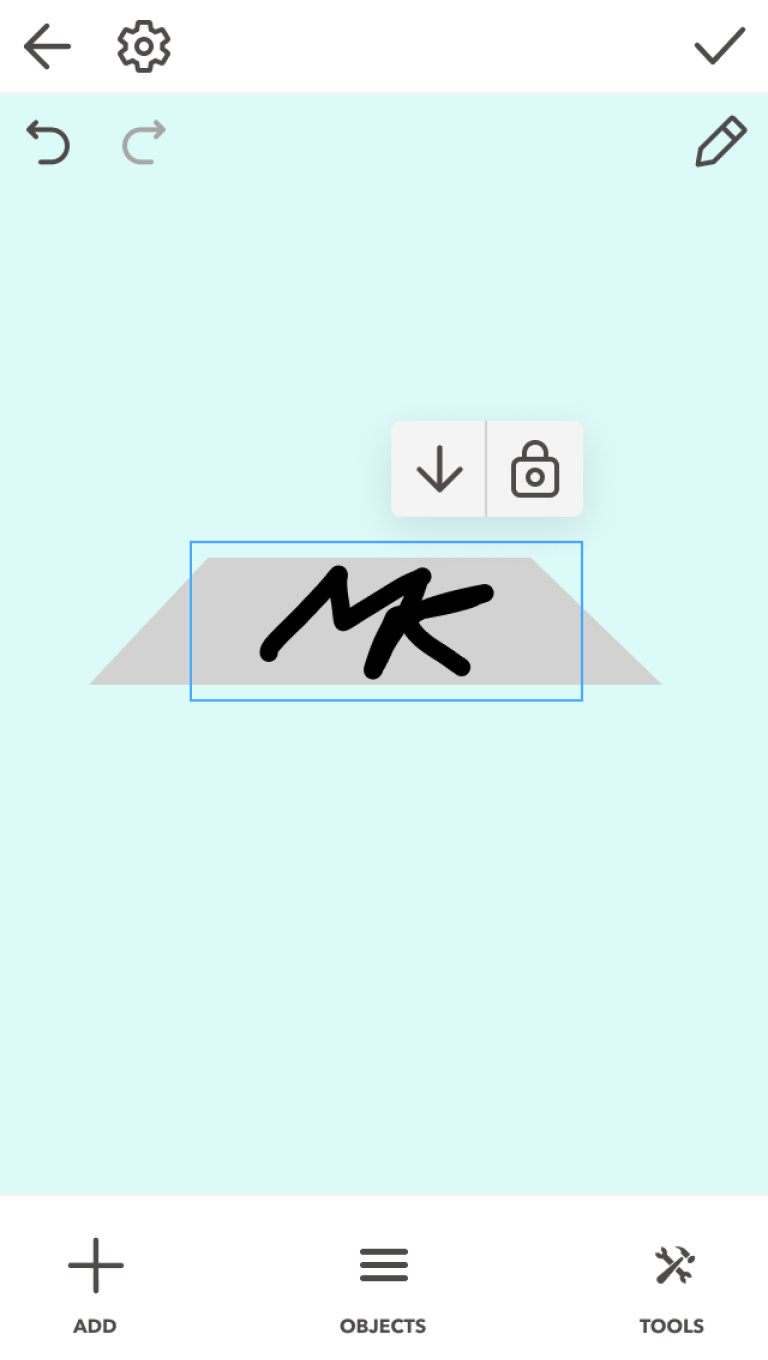
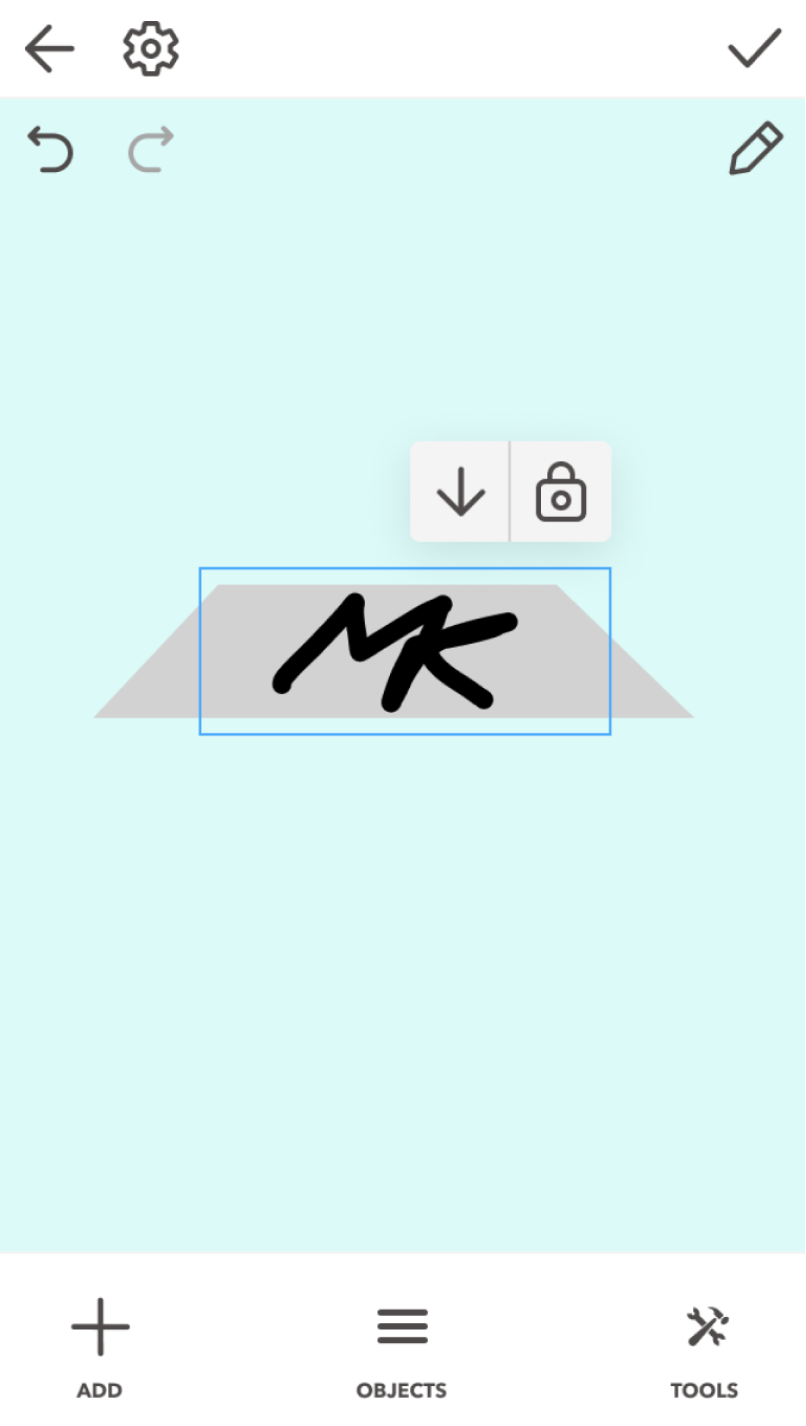
In the first beta, Edit sat in the bottom nav even though it only works on a selected object. I moved it into the 3D scene, where it appears only when something is selected.

Before
Before: Edit is a tab in the bottom nav
After
After: Edit is a button in the 3D scene, shown when an object is selected

Collapsible Tools menu

Testers said the tool icons alone didn’t explain what each tool did. On tablet and desktop, the Tools menu now opens with a label next to each icon and collapses to icons once you know them.

Scale equally and Snap to floor

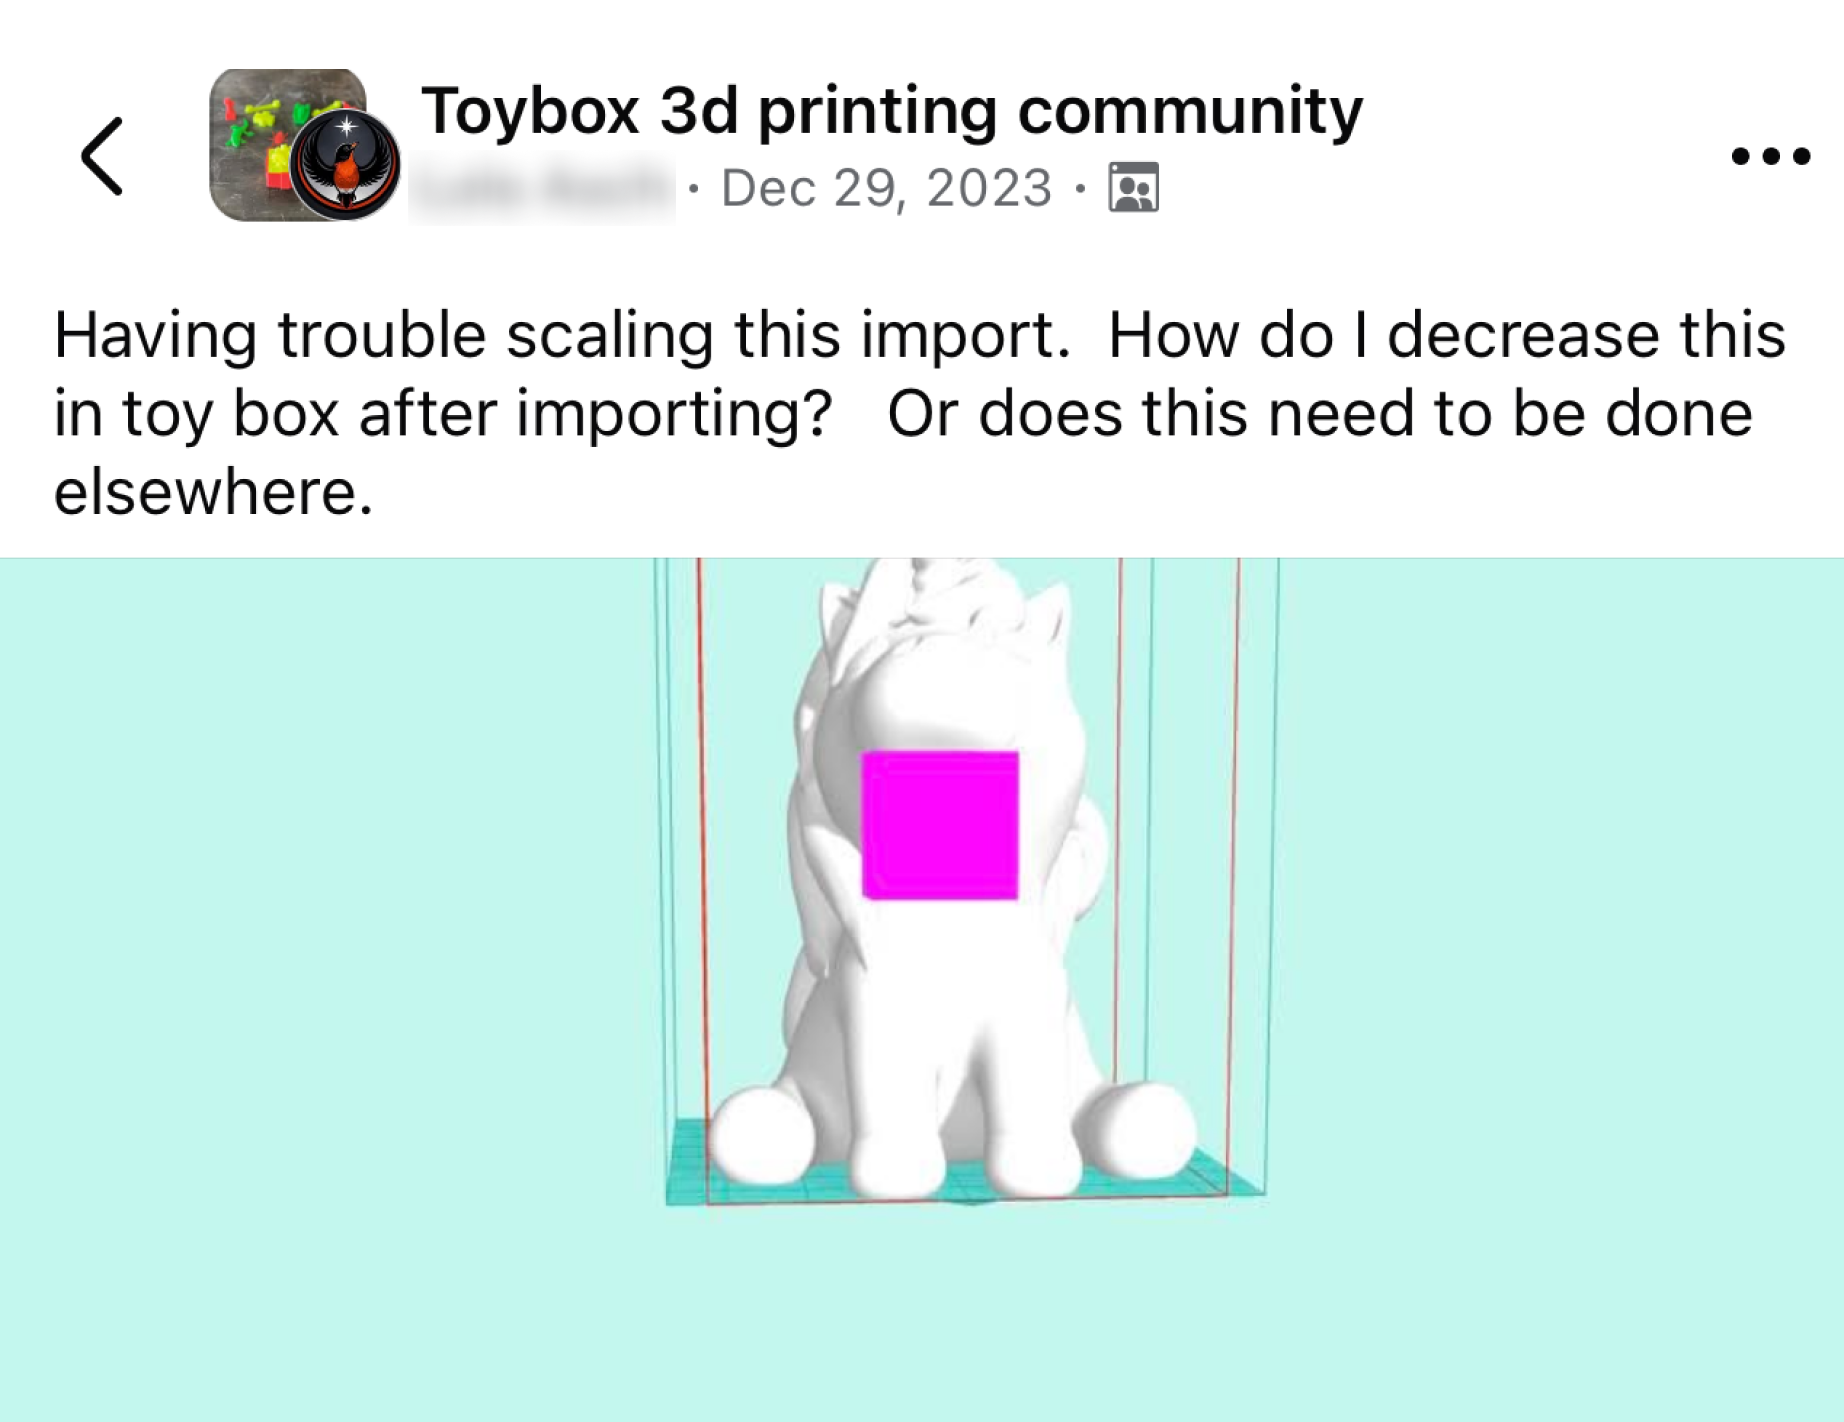
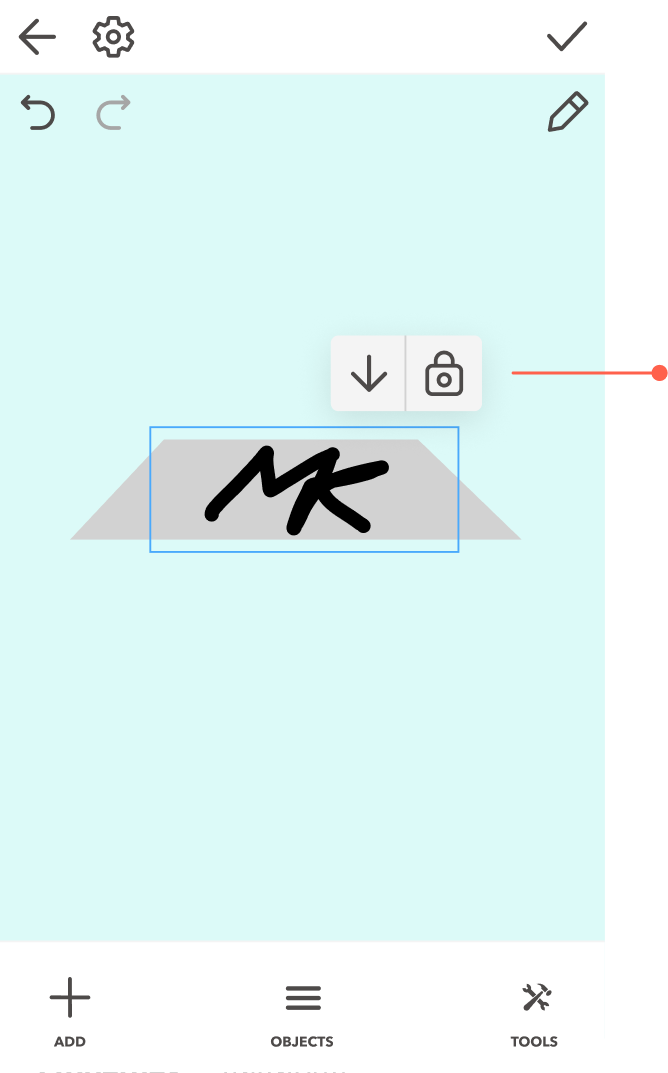
Members of the Toybox 3D printing community Facebook group often asked how to rescale imported models, and a parent testing on iPad said kids wouldn’t understand typing scale percentages. Our developers added a Scale equally toggle next to Snap to floor, so resizing works without typing numbers.

A post in the Toybox 3D printing community group asking how to scale an imported model The Snap to floor and Scale equally toggles above a selected object

Promoting the Build tab

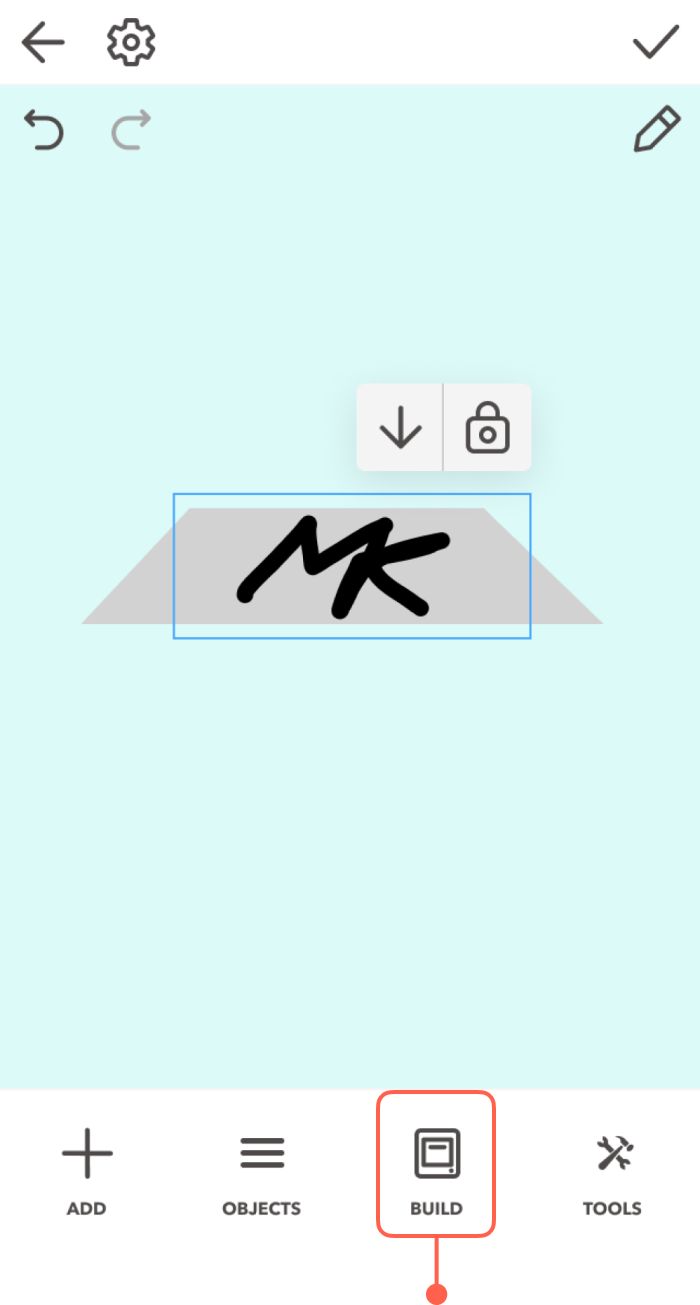
The Build tab is where you set print settings and slice a model, a step every print needs. In the second beta, testers couldn’t find it inside Settings, so I moved it into the phone’s main nav, in the slot Edit left behind, and next to the Print button on larger screens.

Before
Before: the Build tab sits inside Settings
After
After: the Build tab is in the phone’s main nav

What early users said

Two Facebook Community members who already modeled in TinkerCAD tried the Build App and wrote:

“I’m probably what you’d call a Tinkercad power user… Sure, Tinkercad has more shapes and such, but Creator Space is a lot more intuitive and better for beginners. I love the rotation handles and the way the compass works. Way better than Tinkercad.”
A Tinkercad power user
“I’ve historically had my students work in tinkercad and then bring it in to Toybox to print, but having the capability all in one is awesome. The UI is a lot more intuitive than tinkercad as well.”
A teacher

Outcomes

The most popular Toybox app

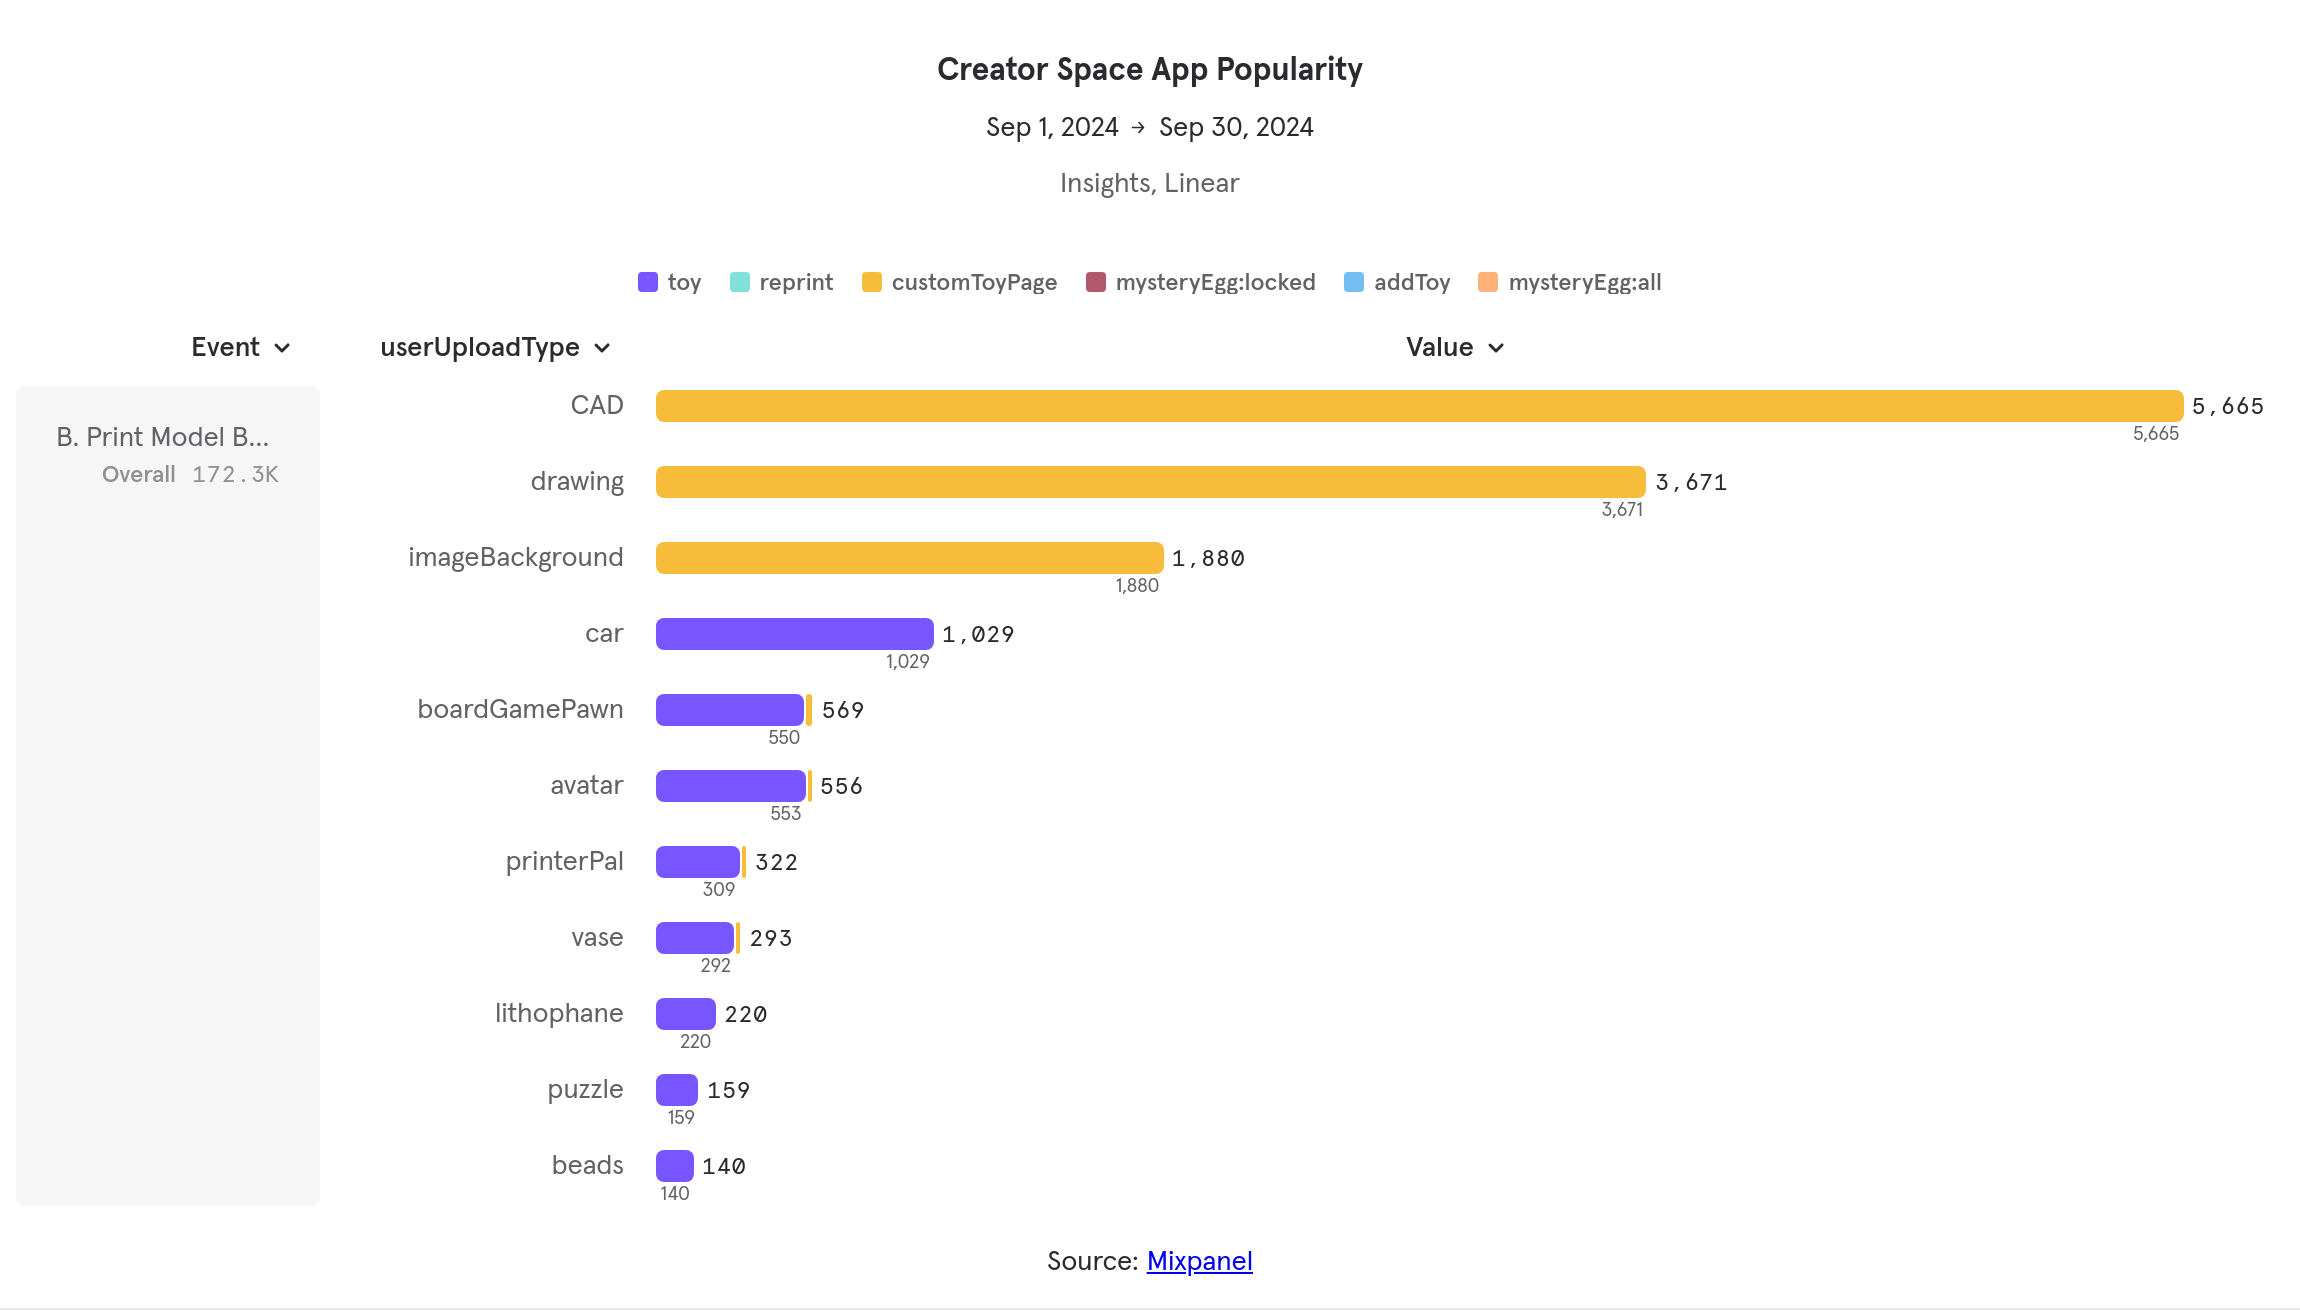
Creator Space app popularity: the Build App, logged as CAD, leads every other creation app

In September 2024, its first full month post-launch, the Build App generated 5,665 toy prints, representing 50% of all user-created prints platform-wide. The app quickly emerged as the primary creation engine, driving 1.5 times the volume of the Drawing tool (3,671 prints) and 5.5 times that of Car (1,029 prints), the top-performing template.

Source: Mixpanel, Sep 1–30, 2024. Mixpanel logs Build App toys as “CAD”. User-made toys are prints from custom toy pages: 11,264 in total.

Reflection

The most challenging project I’ve worked on as a designer

Leading this from 0 → 1 as the only designer taught me more about cross-platform systems and working with engineers than any project before it. Three lessons I still use:

System before screens

At first I tried to design phone, tablet and desktop at the same time, and it slowed the project down. Next time I’d start with the phone and design only what each larger screen adds.

Mockups can only get you so far

Many of my designs couldn’t be tested until engineering built a working prototype.

Today I’d use AI tools to build rough code prototypes of the touch controls myself and test them before engineering starts.

Borrow the expertise you don’t have

Without a researcher, the people around me filled the gap: our in-house toy designer, the pro tools he works in, and parents in the Toybox community who became beta testers.